Easy Buckwheat Bread (No Yeast Needed!) is basically my little lifesaver for those days when I want fresh bread but I do not want to babysit a dough all afternoon. Maybe you have been there too. You want something warm and sliceable, but yeast feels like a whole project. This one is simple, cozy, and it actually tastes like real bread, not a sad shortcut. It is also naturally gluten free since buckwheat is not wheat at all.
What is buckwheat?
Buckwheat is one of those ingredients that confuses people right away because of the name. It is not wheat, and it is not a grain either. Buckwheat is a seed, more like a cousin to rhubarb and sorrel than to wheat. But it cooks and bakes a lot like a grain, which is why you see it in flour form, groats, and even noodles.
Flavor wise, buckwheat has a gentle earthy taste that feels a little nutty. In bread, it comes across as hearty and slightly rustic, in a good way. If you have ever had buckwheat pancakes, you already get the vibe.
One more thing I love is how forgiving it is. When you soak buckwheat groats, they soften and blend into a thick batter that bakes up surprisingly well. That soaking step is where the magic starts for this easy buckwheat bread.
Also, if you are the kind of person who likes to plan meals around simple staples, this bread fits right in with quick soups and salads. I do that a lot, especially when I am pulling ideas from lists like these easy dinner ideas and I just need a no fuss bread on the side.
Ingredients for this simple buckwheat chia bread
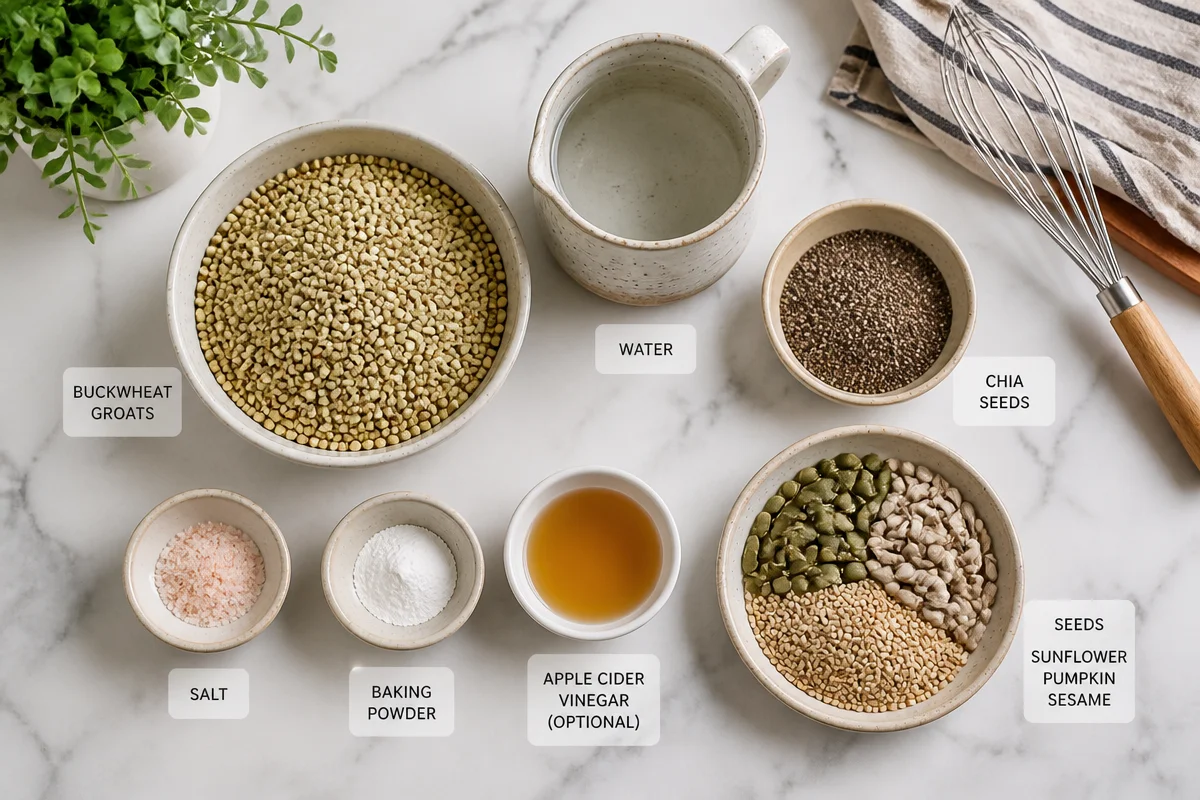
This is a short list recipe, and that is part of the charm. I make it when my pantry is looking a little bare but I still want something homemade. Here is what you need, plus a couple optional extras if you want to play with it.
- Raw buckwheat groats (not toasted kasha). This is the base.
- Chia seeds. They help bind and give the bread a nice sliceable texture.
- Water for soaking and blending.
- Salt. Do not skip it, it wakes up the flavor.
- Baking powder (for lift, especially helpful if your ferment is short).
- Apple cider vinegar or lemon juice (optional, but it gives a gentle tang and helps the rise).
- Optional add ins: sunflower seeds, pumpkin seeds, sesame seeds, dried herbs, or a pinch of garlic powder.
One quick note on the buckwheat groats. Make sure the bag says raw. Toasted groats will not blend into the same smooth batter, and the taste will be much stronger.
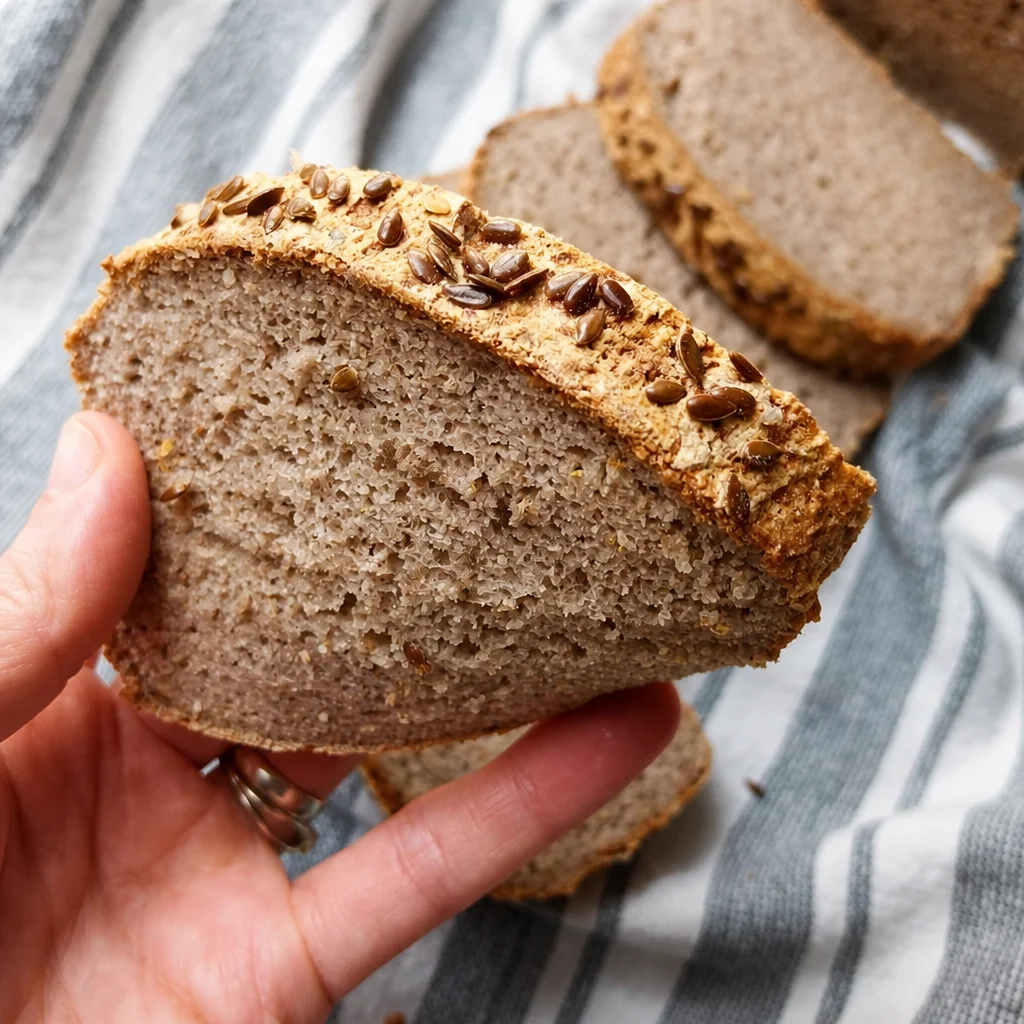
And yes, this is a yeast free bread. So the rise is not going to be like a fluffy sandwich loaf from the bakery. Think more like a hearty everyday loaf that you can toast, top, and snack on without much effort.
How to make this chia buckwheat bread
This is the part where people usually say, wait that is it? Because the method is really simple. The batter looks a little unusual the first time you make it, but trust the process.
Step by step directions (my no stress method)
- Rinse 2 cups of raw buckwheat groats really well in a fine mesh strainer.
- Soak the groats in plenty of water for 4 to 8 hours, or overnight.
- Drain and rinse again. You will notice they feel a bit slippery, that is normal.
- Add the soaked groats to a blender with 1 cup water, 2 tablespoons chia seeds, 1 teaspoon salt, and 2 teaspoons baking powder. Add 1 tablespoon vinegar if using.
- Blend until smooth. Scrape down the sides if needed.
- Pour into a lined loaf pan. Smooth the top with a spoon.
- Let the batter sit to ferment (more on timing below), then bake at 350 F for about 60 to 70 minutes.
- Cool completely before slicing. This part is hard, I know, but it really helps the texture set.
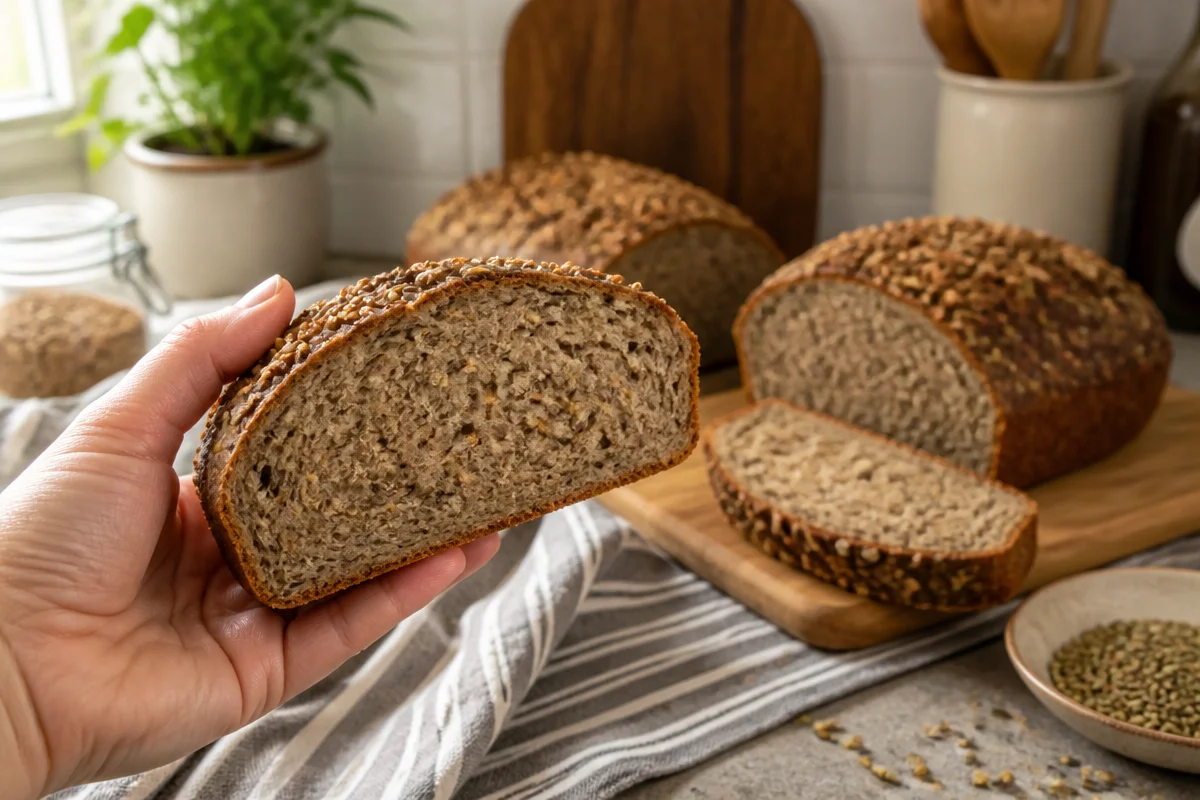
When it comes out of the oven, the crust is lightly crisp and the inside is moist but not gummy if you let it cool properly. I usually slice it and keep it in the fridge, then toast slices as I want them.
And because I am me, I always end up eating the first slice standing at the counter with butter and a pinch of salt. No plate. No shame.
“I made this on a rainy Sunday and it turned out on the first try. I cannot eat regular bread, so having something this easy that actually slices and toasts is a big deal.”
If you want something sweet to go with your weekend baking mood, I have a soft spot for apple fritter bread. Totally different vibe, but it is the kind of thing I make when I want a cozy treat.
What Are the Health Benefits of Buckwheat?
I am not here to claim bread is a magic health food, but buckwheat really does bring a lot to the table. It is naturally gluten free, and it has a solid nutrition profile compared to a lot of refined flours.
Here are a few simple, practical benefits people like about buckwheat:
Good fiber content which can help you feel satisfied after a couple slices.
Plant based protein
Minerals
Rutin which is a natural plant compound often mentioned for supporting blood vessel health.
What I notice most personally is how filling it is. When I have a couple slices of this easy buckwheat bread with eggs or smashed chickpeas, I am good for a while. It is the kind of bread that feels like it is actually doing something, not just disappearing instantly.
How Long to Ferment Your Buckwheat Bread Based on Your Current Climate
So, about fermenting. Since we are skipping yeast, fermenting is how we build a bit of flavor and improve texture. It is not scary. It is basically just letting the blended batter sit so natural fermentation can happen.
Ferment timing guide that actually works in real life
Use these as general guidelines and trust your kitchen. If your house is chilly, it will take longer. If it is warm, it moves faster.
Hot and humid (75 to 85 F): 4 to 6 hours. Check at 4 hours. You might see small bubbles and a slightly airy look.
Warm (68 to 75 F): 6 to 10 hours. This is my usual range and it is very dependable.
Cool (60 to 68 F): 10 to 16 hours. I do overnight, then bake in the morning.
Cold (below 60 F): 16 to 24 hours, or put it in the oven with the light on for a gentle warm spot.
What are you looking for? The batter should smell pleasantly tangy, not funky. It may puff slightly and show little bubbles when you stir it. If you see pink or orange streaks, or it smells off, toss it and start over. That is rare, but it is worth saying.
One more tip: do not ferment in the loaf pan if your kitchen is very warm and you are worried about sticking. I usually ferment in a bowl, then stir gently and pour into the lined pan right before baking.
Common Questions
Do I have to ferment it?
You do not have to, but it improves the flavor and texture. If you are in a hurry, let it sit at least 30 to 60 minutes, then bake. It will still work, just milder tasting.
Why is my loaf gummy in the middle?
Usually it is from slicing too soon or underbaking. Let it cool fully, and next time bake a bit longer or use a thermometer if you have one. Aim for about 200 to 205 F in the center.
Can I use buckwheat flour instead of groats?
This specific method is designed for soaked groats. Flour does not ferment the same way and the water amounts change a lot. You can find flour based recipes, but this one is a groats recipe.
How should I store it?
Wrap it and keep it in the fridge for up to 5 days. For longer, slice it and freeze it. It toasts straight from frozen like a dream.
What goes well on it?
Butter and salt, hummus, avocado, peanut butter, or a simple soup on the side. This easy buckwheat bread is sturdy enough for savory toppings and it does not fall apart.
A warm little send off (and a couple good resources)
If you have been wanting a reliable loaf that feels homemade without the yeast drama, this easy buckwheat bread is a great place to start. Keep it simple the first time, then add seeds or herbs once you get a feel for it. And seriously, let it cool before slicing, your future self will thank you.
If you want to compare methods or try other variations, I like browsing guides like How to Make Delicious Buckwheat Bread (With Just 1 Ingredient!) and this one too, Easy Buckwheat Bread (No yeast, No kneading!) – Plant Based Jess. Now go soak those groats and make your kitchen smell like fresh bread today.
Easy Buckwheat Chia Bread (No Yeast Needed)
Ingredients
Method
- Rinse raw buckwheat groats in a fine mesh strainer until water runs clear.
- Soak the buckwheat groats in plenty of water for 4 to 8 hours or overnight.
- Drain and rinse the soaked groats again.
- Blend the soaked groats with 1 cup water, 2 tablespoons chia seeds, 1 teaspoon salt, and 2 teaspoons baking powder. Add 1 tablespoon vinegar if using.
- Blend until smooth. Scrape down the sides if needed.
- Pour the batter into a lined loaf pan and smooth the top.
- Let the batter sit to ferment based on the temperature (4-24 hours).
- Preheat the oven to 350°F (175°C) and bake for 60 to 70 minutes.
- Allow the bread to cool completely before slicing for the best texture.