
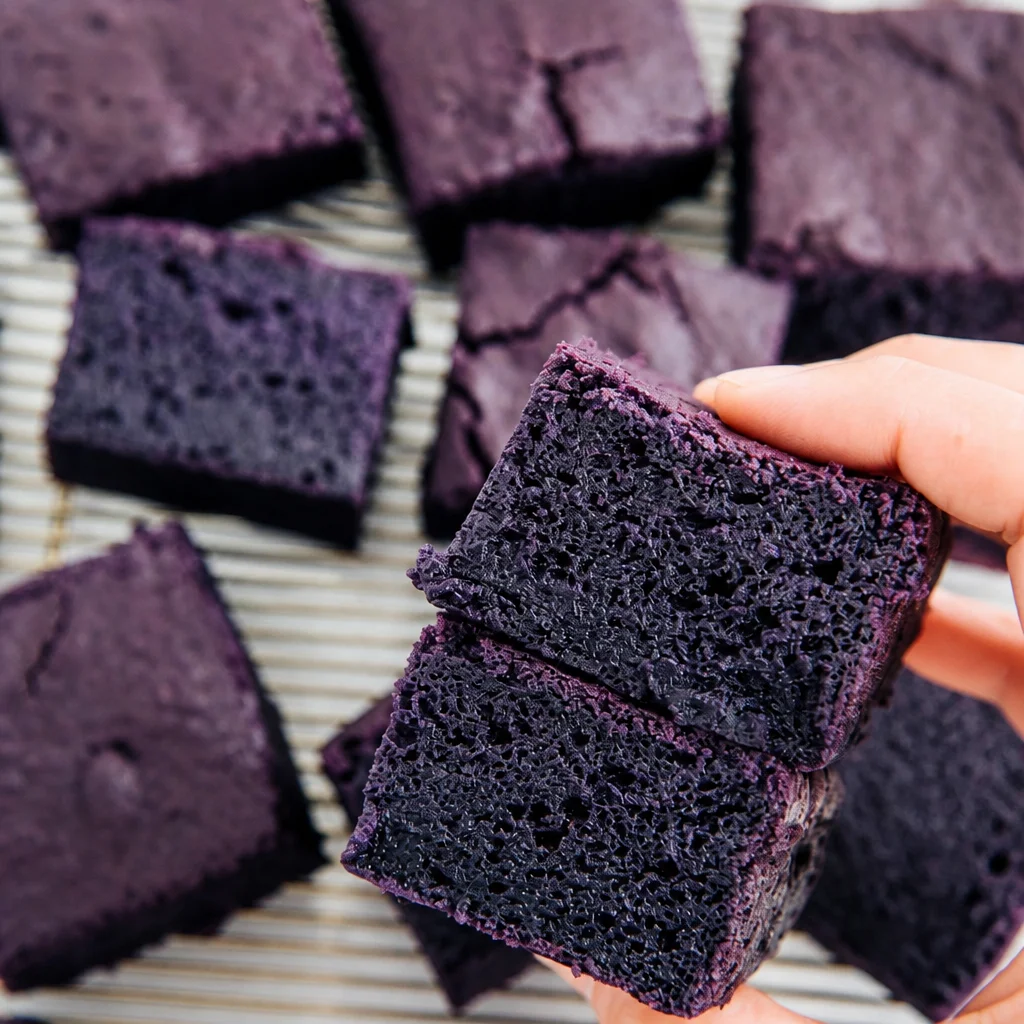
Chewy Ube Mochi Bars are my go to treat when I want something sweet but also a little different from the usual brownies and blondies. You know those days when you want a dessert that feels special, but you do not want to spend all night in the kitchen? This is that recipe. They bake up with a **crackly top**, a **bouncy chewy middle**, and that pretty purple color that makes everyone peek into the pan like, wait what is that. I started making them for potlucks, and now they are the first thing friends request. Let me walk you through it in a simple, no stress way.
What is Ube and Where to Buy It
Ube is a purple yam that is super popular in Filipino desserts. The flavor is gently sweet and kind of cozy, like vanilla with a nutty vibe. It is not loud or super earthy like some yams can be. It just tastes like dessert.
For these Chewy Ube Mochi Bars, you will usually use ube in one of these forms:
- Ube halaya (ube jam): thick, sweet, and already cooked. This is my favorite for flavor.
- Frozen grated ube: you cook it first, then mash or blend.
- Ube extract: more for color and aroma. A little goes a long way.
- Ube powder: convenient, but brands vary a lot, so taste as you go.
Where I buy it: Asian grocery stores are the easiest bet. Look in the freezer aisle for grated ube, and near the spreads or canned goods for ube halaya. If you are shopping online, read reviews and check photos because texture matters. You want ube jam that looks thick and smooth, not watery.
One more thing. If you end up with leftover ube jam, you can swirl it into yogurt, spread it on toast, or spoon it into pancakes. It is dangerously snackable.
How to Make Ube Mochi
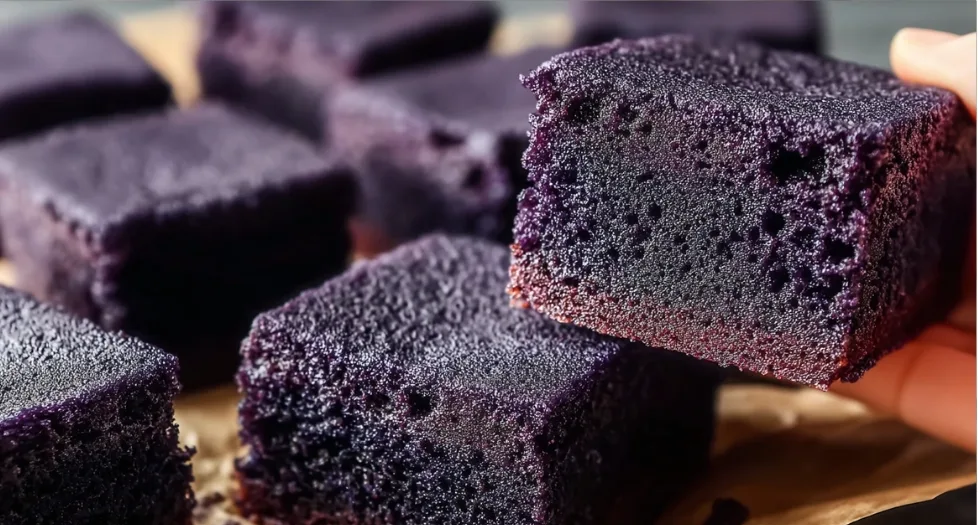
I like recipes that feel forgiving, and this one really is. The key ingredient is **glutinous rice flour** (also called sweet rice flour). It is what gives that mochi chew. It does not contain gluten in the wheat sense, it is just a name that refers to the sticky texture.
What you will need
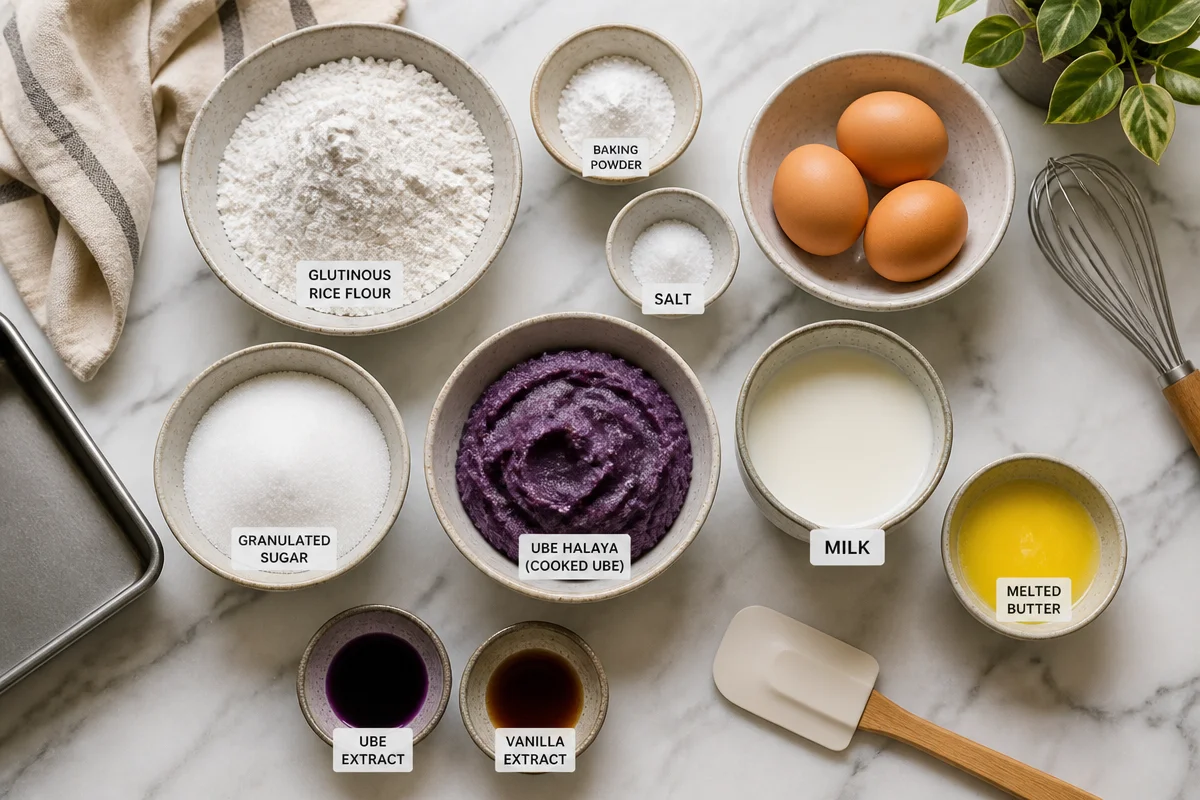
Here is the simple lineup for a 9 by 13 inch pan. You can cut it in half for an 8 by 8, but honestly, people always want more.
- Glutinous rice flour
- Baking powder
- Salt
- Eggs
- Granulated sugar
- Milk (whole milk is great, but use what you have)
- Melted butter (or neutral oil if needed)
- Ube halaya or cooked ube
- Ube extract (optional, for extra pop)
- Vanilla extract (small amount, it rounds out the flavor)
Easy directions that actually work
This is the flow I use every time:
1) Heat your oven to 350 F and grease your pan well. I like lining with parchment too, because it lifts out clean.
2) In a bowl, whisk glutinous rice flour, baking powder, and salt.
3) In another bowl, whisk eggs and sugar until smooth, then whisk in milk and melted butter.
4) Stir in the ube halaya. If it is super thick, mash it around a bit so it blends better. Add ube extract if using.
5) Mix wet into dry until the batter looks smooth. It will be thinner than brownie batter, more like pancake batter.
6) Pour into the pan and bake until the top looks set and slightly glossy, and a toothpick comes out mostly clean with a few sticky crumbs.
Let it cool before slicing. I know it is tempting, but if you cut too early, you will lose those clean chewy squares. I usually give it at least 45 minutes. If you want super neat edges, chill it briefly, then slice.
Also, if you love bar desserts in general, I have this cozy baked treat bookmarked for fall cravings: baked maple donut bars. Different flavor, same shareable vibe.
Expert Baking Tips
These are the little things that make your Chewy Ube Mochi Bars come out chewy and tender, not dry or oddly dense.
Tip 1: Measure the flour the right way. Spoon the glutinous rice flour into your measuring cup and level it off. If you pack it down, you can accidentally add too much, and the bars get tough.
Tip 2: Do not overbake. Overbaked mochi bars turn from chewy to stiff. You want the center set, but still springy. If the edges start pulling away from the pan a lot, you are probably close.
Tip 3: Grease like you mean it. Mochi is sticky. Butter plus parchment is a lifesaver.
Tip 4: Use room temp eggs if you can. They mix in smoother. If you forgot, just let them sit in warm water for 5 minutes.
Tip 5: Cool fully before slicing. This is not just for looks. Cooling helps the texture finish setting so you get that perfect mochi bite.
“I brought these to a game night and people kept going back for tiny extra pieces. The chew is so satisfying and the ube flavor is just right.”
Best Recipe Tips
This is where I get a little picky, in a good way. These are the tweaks that help you make the recipe fit your kitchen and your tastes.
Make the flavor stronger: If your ube halaya is mild, add a tiny splash more ube extract plus a touch of vanilla. Do not go wild with extract though. Too much can taste artificial.
Want a richer bar? Swap some of the milk for coconut milk. It makes the whole pan taste a little more “bakery style” and super fragrant.
Love a toasty topping? Sprinkle shredded coconut on top before baking. It gets golden and makes the bars smell unreal.
Clean slices tip: Lightly oil your knife or wipe it between cuts. It sounds extra, but it works.
How to store them: Keep them in an airtight container at room temp for about 2 days, or in the fridge for up to 5 days. Reheat a square for 10 to 15 seconds in the microwave to bring back that soft chew. You can also freeze them, then thaw and warm.
And if you are a “bars for breakfast” kind of person, I get it. I also keep recipes like blueberry cream cheese danish bars in my back pocket for weekend snacking.
Ube Recipe Ideas
Once you buy ube, it is hard not to keep playing with it. Here are a few easy ways to use it up, especially if you already made Chewy Ube Mochi Bars and now you are officially on an ube kick.
Ube latte at home: Stir a spoonful of ube jam into warm milk, add a little vanilla, then pour over ice or serve hot.
Ube swirl brownies: Drop spoonfuls of ube halaya on brownie batter and swirl gently. It looks fancy with almost no effort.
Ube coconut pudding cups: Mix ube with coconut cream and a touch of sweetener, then chill in little cups.
Ube French toast filling: Spread a thin layer of ube jam between slices of bread, dip in egg, then cook like stuffed French toast.
If you want to keep the mochi texture going, you can also bake the batter in muffin tins for mini mochi bites. Just shorten the bake time and watch closely.
Common Questions
1) Are Chewy Ube Mochi Bars gluten free?
They are usually gluten free because glutinous rice flour is made from rice, not wheat. Still, check your labels for cross contamination if that matters for you.
2) Can I use regular rice flour instead of glutinous rice flour?
No, it will not give you the mochi chew. Regular rice flour makes it more crumbly and dry. Sweet rice flour is the key.
3) My bars turned out dense. What happened?
Most likely too much flour, overbaking, or your baking powder is old. Also make sure you mixed until smooth so there are no flour pockets.
4) Can I reduce the sugar?
A little, yes. Just know sugar helps the texture stay soft. If you cut too much, the bars can feel tougher the next day.
5) What is the best way to serve them?
I like them slightly warm with coffee or iced tea. For parties, I cut them into small squares because they are rich and chewy, and people like to snack.
A sweet little push to bake a batch
If you have been wanting to try ube, these Chewy Ube Mochi Bars are such a friendly place to start because the steps are simple and the payoff is huge. Once you nail that chewy center and mellow ube flavor, you will probably make them again the next week. If you want more ube baking inspiration, I also love reading Bouncy Chewy Gluten Free Ube Mochi Cake – Hummingbird High and this super approachable Ube Mochi Recipe – The Unlikely Baker®. Now go grab that sweet rice flour, preheat the oven, and make a pan you will be proud to share.

Chewy Ube Mochi Bars
Ingredients
Method
- Preheat your oven to 350°F and grease a 9×13 inch pan, optionally lining with parchment.
- In a bowl, whisk together glutinous rice flour, baking powder, and salt.
- In another bowl, whisk eggs and sugar until smooth, then whisk in the milk and melted butter.
- Stir in the ube halaya, adding ube extract if using.
- Mix the wet ingredients into the dry ingredients until the batter is smooth.
- Pour the batter into the prepared pan and bake until set, glossy on top, and a toothpick comes out with a few sticky crumbs.
- Let cool for at least 45 minutes before slicing.