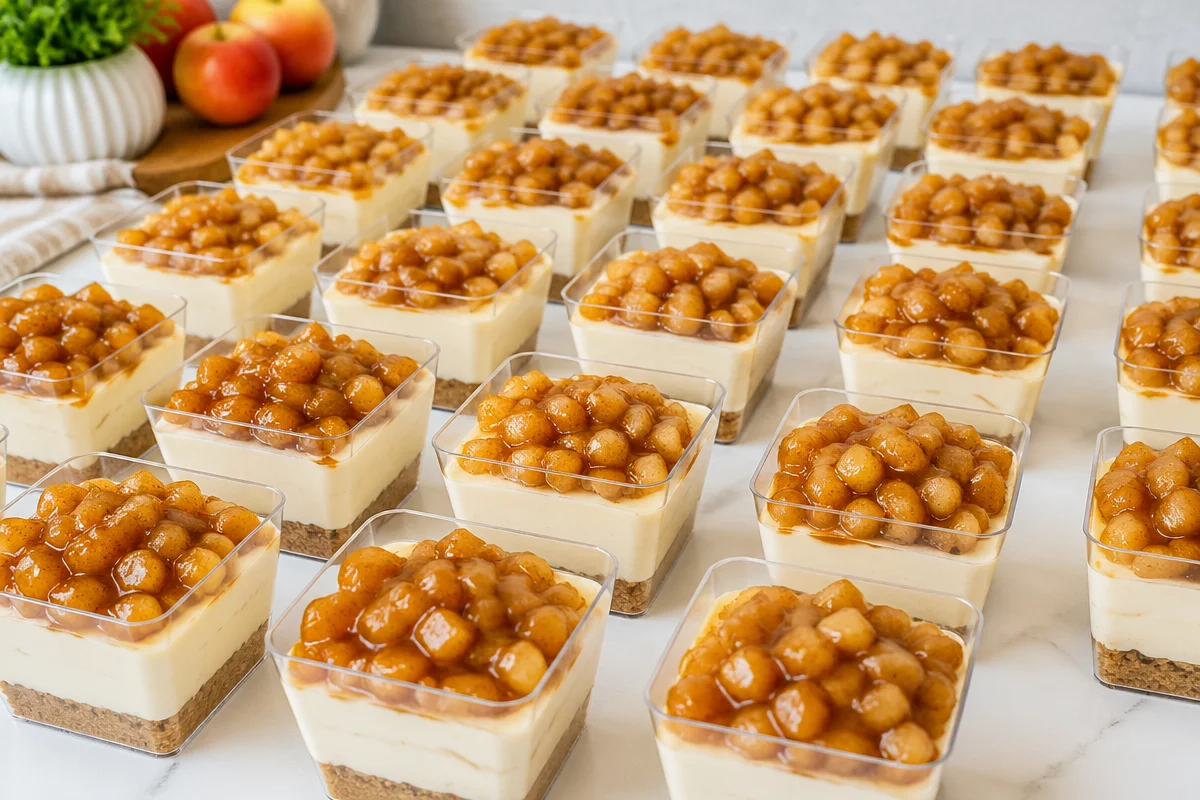
Apple Dessert Cups are my go to move when fall gets busy and I still want to show up with something cute and cozy. You know those weekends when you have a potluck, a game day hangout, and your kids suddenly remember they need a treat for school on Monday? Same. These little cups are sweet, crunchy, creamy, and they travel like a dream. Plus, nobody has to slice anything, which honestly feels like a gift.
Ingredients for Caramel Apple Dessert Cups
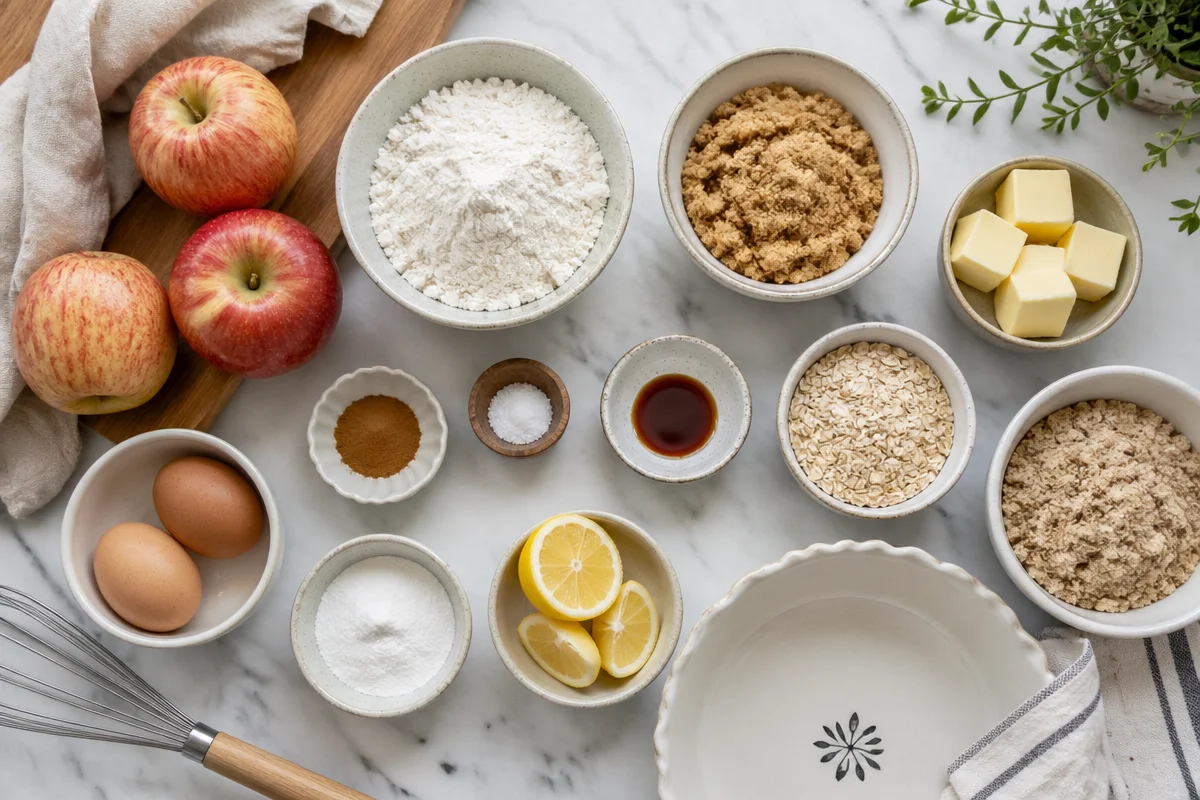
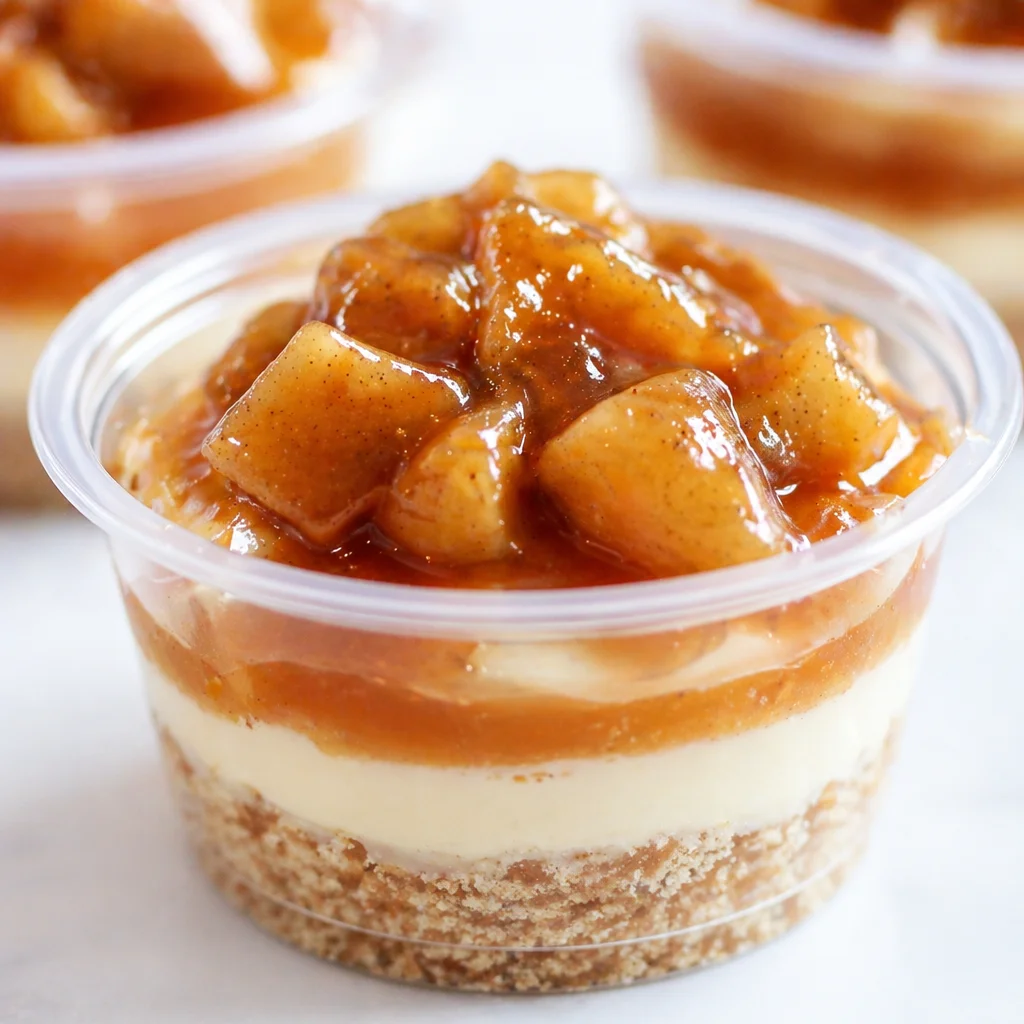
This is one of those recipes where the ingredient list looks simple, but the payoff feels big. I like building layers that taste like an apple pie met a cheesecake and decided to be best friends.
Here is what I typically grab. You can absolutely swap brands based on what you love.
- Apples (2 to 3 medium). I love Honeycrisp or Granny Smith for that sweet tart balance.
- Butter (2 tablespoons) for sauteing the apples.
- Brown sugar (2 to 3 tablespoons) to make the apples glossy and cozy.
- Cinnamon (1 teaspoon) and a pinch of salt.
- Optional: a tiny splash of vanilla, and a pinch of nutmeg if you are feeling fancy.
- Crushed cookies or graham crackers (about 1 and 1/2 cups). Shortbread cookies are also amazing.
- Cream cheese (8 ounces), softened.
- Powdered sugar (1/2 cup) or adjust to taste.
- Whipped topping or heavy cream you whip yourself (about 1 and 1/2 cups).
- Caramel sauce (store bought or homemade). I strongly recommend salted caramel if you like that sweet salty vibe.
- Optional toppings: chopped pecans, toffee bits, extra cinnamon, or a drizzle of chocolate.
If you are in an apple baking mood, you might also like these caramel apple crumble bars. They hit the same fall craving, just in bar form.
Tools & Supplies for Making Caramel Apple Dessert Cups
You do not need anything complicated here, and that is part of why I keep coming back to these. When I am hosting, I want dessert to feel easy, not like a second job.
This is my basic setup:
- Small clear cups or mini jars (8 to 12). I usually use 8 ounce plastic cups for parties.
- A skillet for cooking the apples.
- Mixing bowls (one for the crumb layer, one for the filling).
- A hand mixer or stand mixer for the cream cheese layer.
- A spoon for layering, or a piping bag if you want it to look extra neat.
- Measuring cups and spoons.
One tiny tip that makes life easier: if you are serving a crowd, set up a little assembly line. Crumbs first, then filling, then apples, then caramel. It goes faster than you think.
How to Make Caramel Apple Dessert Cups
This is the part where everything comes together, and it honestly feels kind of relaxing. I usually put on a playlist, sneak a couple apple bites, and let the kitchen smell like cinnamon for a while.
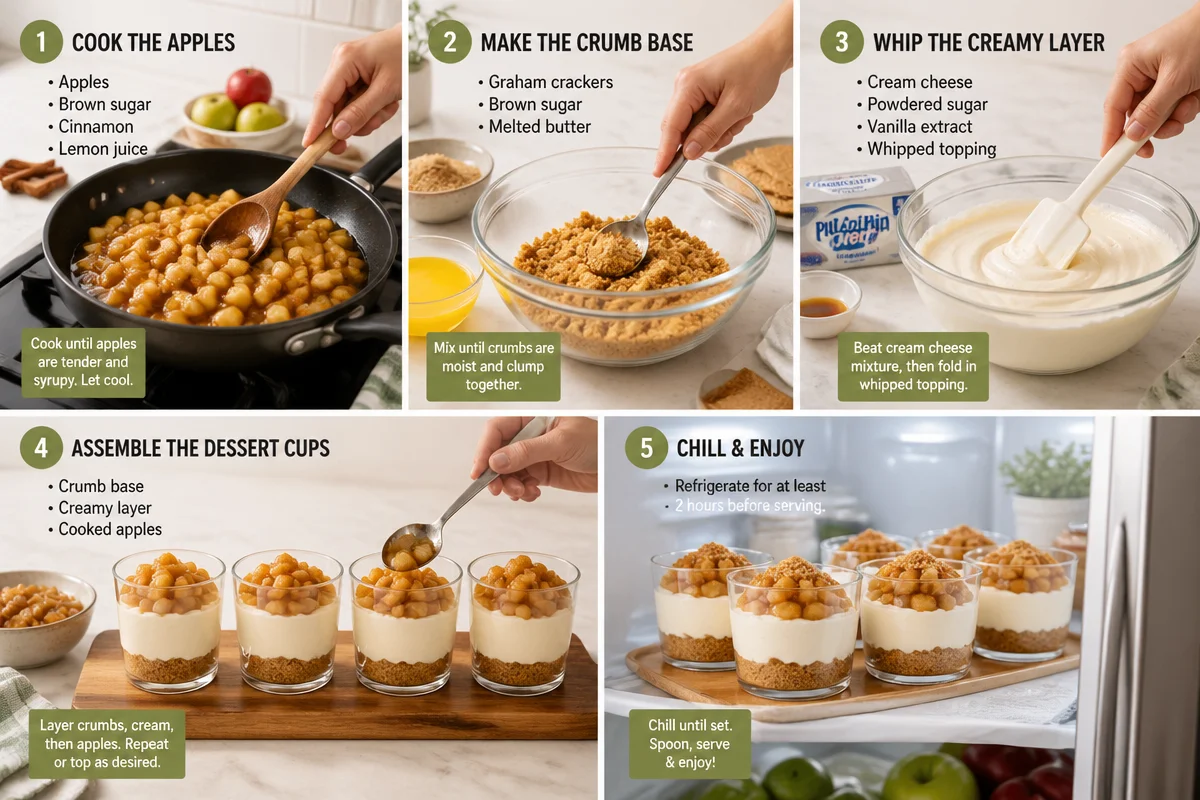
Step by step layering
1) Cook the apples. Peel and dice your apples into small bite size pieces. Melt butter in a skillet over medium heat, then add apples, brown sugar, cinnamon, and a pinch of salt. Stir for about 6 to 10 minutes until the apples soften but do not turn to mush. Let them cool so they do not melt your creamy layer.
2) Make the crumb base. Crush your cookies or graham crackers. If they are dry crumbs, you can mix in 2 to 3 tablespoons of melted butter to help them pack a little. This is optional, but I like how it holds together.
3) Whip the creamy layer. Beat softened cream cheese with powdered sugar and a splash of vanilla. Fold in whipped topping or freshly whipped cream. Taste it. If you want it sweeter, add a little more powdered sugar.
4) Assemble the cups. Add a spoonful of crumbs to each cup, then a layer of cream, then a layer of apples, then drizzle caramel. Repeat the layers if your cups are tall enough. Finish with a final caramel drizzle and whatever toppings you like.
5) Chill. These are best after chilling at least 1 to 2 hours. The flavors settle in and the layers hold up better.
One reason I love Apple Dessert Cups is that they are naturally portioned. People can grab one, chat, and go back for a second without anyone feeling weird about cutting a tiny sliver of pie.
If you are a dessert cup person in general, I also have a soft spot for these brownie cheesecake cups. Totally different flavor, but the same fun party vibe.
“I brought these to a fall bonfire and everyone kept asking where I bought them. When I said I made them, my friend literally made me text her the recipe on the spot.”
Make Your Own Salted Caramel Sauce
Store bought caramel works, no shame at all. But if you have an extra 10 minutes and want that deep buttery flavor, homemade salted caramel is worth it. The first time I made it, I was nervous. Now I do it without thinking, and it makes these Caramel Apple Dessert Cups taste like something from a bakery.
Quick salted caramel method
What you do: In a medium saucepan over medium heat, melt 1 cup of sugar while stirring gently. It will clump, then slowly turn into a smooth amber liquid. Once it is amber, add 6 tablespoons of butter (careful, it bubbles), then slowly pour in 1/2 cup heavy cream while stirring. Remove from heat and stir in 1/2 to 1 teaspoon sea salt.
A few safety and success tips: Use a bigger pot than you think you need, and pour the cream slowly. Caramel is hot and it bubbles up fast. Also, do not walk away from the sugar once it starts changing color. It can go from perfect to bitter quickly.
If the sauce thickens too much after cooling, warm it for a few seconds in the microwave and stir. It becomes pourable again.
Caramel Apple Dessert Cups Recipe Tips
I have made these enough times to learn what matters and what really does not. Here are my practical little notes that help every batch turn out great.
Make ahead and storage tips
Make ahead: You can cook the apples up to 2 days ahead and keep them in the fridge. The cream layer can also be made a day ahead. I prefer assembling the cups the day of serving so the crumbs stay a bit crunchy, but you can assemble them the night before if you are tight on time.
Storage: Keep them covered in the fridge. They are best within 2 days. After that, the layers still taste good, but the crumb part softens more.
Serving: Serve chilled. For a party, I put them on a tray and add little spoons. If you want to be extra, top each one with a tiny apple slice right before serving so they look fresh.
Apple choice: Granny Smith keeps its shape and gives you that tart pop. Honeycrisp is sweeter and still holds up well. I sometimes mix both.
Caramel control: If you want cleaner layers, drizzle caramel lightly between layers and save the big drizzle for the top. If you want that messy delicious look, drizzle with confidence.
These Caramel Apple Dessert Cups are also super easy to adjust for different diets. You can use gluten free cookies for the crumb layer, or use a dairy free cream cheese and whipped topping if needed. It will not be exactly the same, but it still hits the fall dessert craving.
Common Questions
Can I make Apple Dessert Cups without cream cheese?
Yes. You can use vanilla Greek yogurt mixed with a little honey and whipped topping. It will taste lighter and a bit tangier, but still really good.
Do the apples have to be cooked?
I recommend cooking them because it brings out that cozy cinnamon flavor and makes them taste like pie filling. If you are in a rush, you can use thin sliced raw apples tossed in cinnamon and sugar, but they will be crunchier.
What is the best crumb layer?
Graham crackers are classic, but shortbread cookies taste buttery and amazing. Gingersnaps are also great if you want a spiced kick.
How do I keep the layers from getting messy?
Let the apples cool before layering, and chill the cream mixture for 15 minutes so it firms up a bit. Using a piping bag for the cream layer also helps a lot.
Can I bring these to an outdoor fall gathering?
Yes, just keep them in a cooler with ice packs. They can sit out for a bit while people serve themselves, but I would not leave them in the sun for long.
A sweet little fall dessert you will actually want to make again
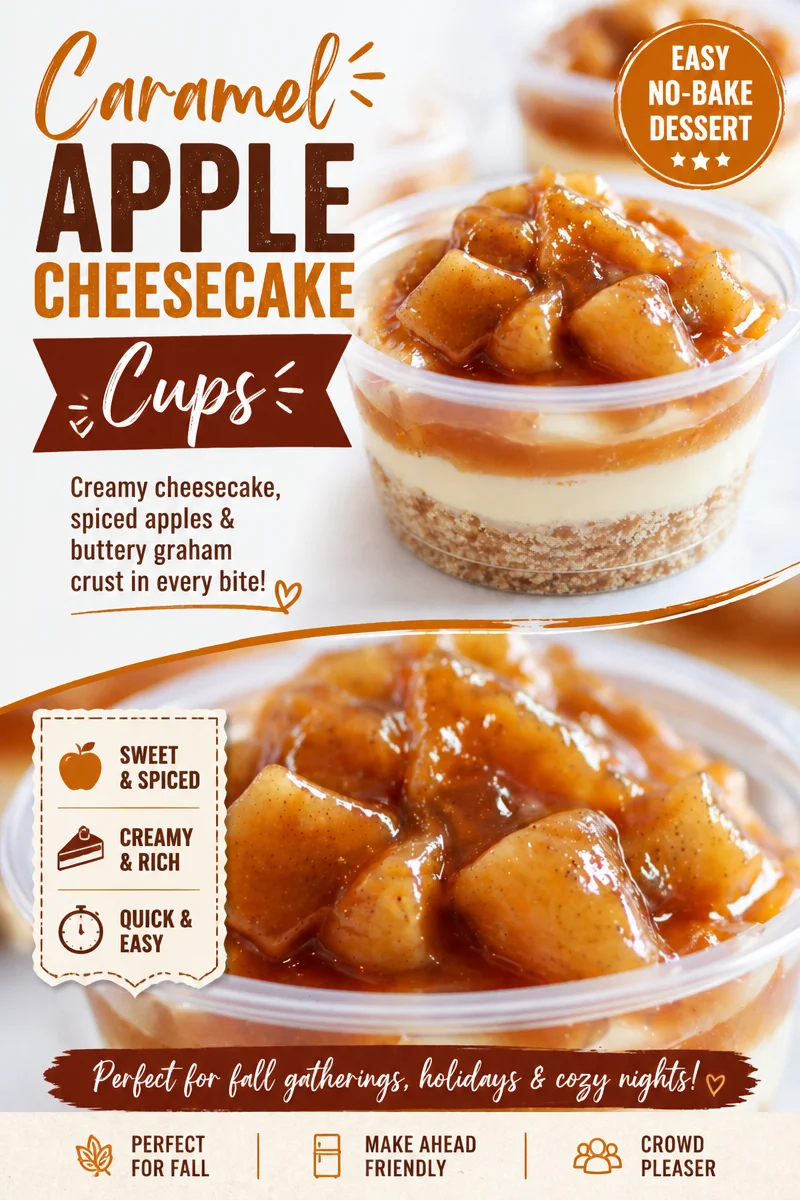
If you want a cozy, crowd pleasing treat that looks adorable on a table, these Caramel Apple Dessert Cups are it. They taste like caramel apples and cheesecake had a fall party together, and the best part is how easy they are to prep ahead. If you want to compare versions or get more inspiration, you can check out Caramel Apple Dessert Cups – Cake Me Home Tonight for another fun take, and this Easy Apple Pie Trifle Cups (reel) – Tatyanas Everyday Food is great if you like seeing the layers come together fast. Make a batch, stash a couple in the fridge for later, and tell me honestly if you do not sneak one with your coffee the next morning.
Caramel Apple Dessert Cups
Ingredients
Method
- Peel and dice the apples into small bite-sized pieces.
- Melt butter in a skillet over medium heat, add apples, brown sugar, cinnamon, and a pinch of salt. Stir for 6 to 10 minutes until the apples soften.
- Let the apples cool to prevent melting the creamy layer.
- Crush the cookies or graham crackers. Optional: Mix in melted butter for a slightly different texture.
- Beat softened cream cheese with powdered sugar and a splash of vanilla.
- Fold in whipped topping or freshly whipped cream. Adjust sweetness if necessary.
- In small cups, layer the ingredients starting with crumbs, followed by cream, apples, and a drizzle of caramel.
- Repeat the layering process if your cups are tall enough.
- Finish with a final drizzle of caramel and any additional toppings.
- Chill for at least 1 to 2 hours before serving to allow flavors to meld.